grain-free

Almond Flour Pumpkin Bread

IMG_9145.jpeg

This recipe kicks off the week of PUMPKIN! Since I am literally obsessed with pumpkin (I know, basic, but it's true), I decided to share a new pumpkin recipe each day this week. I used to dream about opening up a cafe called “La Zucca” (Italian for “pumpkin”), where most, if not all, of my dishes would feature pumpkin as the main ingredient. Before I was more health-conscious, these dishes included pumpkin bread french toast, pumpkin ravioli, pumpkin cheesecake, pumpkin muffins with cream cheese, and the list goes on. This week, you’ll be seeing recipes that are more in line with my new way of thinking, which is that we should be thinking about food as medicine - that we should be eating nutrient-dense food that nourishes and fuels us. These nourishing foods can still be incredibly delicious, as I believe these recipes to be! Maybe I still will open a pumpkin cafe one day...I’ll keep you posted if I do :) 

IMG_9138.jpeg

Now, for the pumpkin bread. Anyone who knows me well knows about my obsession with pumpkin bread. I would easily take down an entire loaf on my own if I didn’t practice just a bit of self-restraint. I used to buy the boxed pumpkin bread mix from Trader Joe’s, but there are a ton of processed and refined ingredients, plus lots of sugar! When you make a homemade loaf with simple ingredients, I realized, it actually tastes much better and doesn’t leave you feeling guilty or gross after. Make a loaf of this and enjoy it as a snack, as your breakfast (maybe topped with almond butter and bananas to get some extra protein), or for a guilt-free dessert. It’s grain-free, dairy-free and free of refined sugars. 

Ingredients:

  • 2 cups almond flour

  • 1 15 ounce can pumpkin puree

  • ¼ cup maple syrup

  • 3 tbsp coconut oil, melted

  • 3 eggs

  • 1 tbsp + 1 tsp pumpkin pie spice

  • 1 tsp cinnamon

  • ¼ tsp salt

  • 1 tsp vanilla extract

  • 1 tsp baking soda

Directions:

  • Preheat oven to 350°F. Line a loaf pan with parchment paper or grease with coconut oil.

  • In a medium bowl, gently whisk eggs. Then add pumpkin puree, maple syrup, coconut oil, and vanilla and stir until combined.

  • In another bowl, add almond flour, salt, pumpkin pie spice, cinnamon, baking soda, and baking powder and stir together. Then add to wet ingredients and mix until combined. 

  • Transfer the batter to the loaf pan.

  • Bake the bread until a toothpick comes out clean when inserted in the center, about 55 minutes.

  • Allow the bread to cool completely before slicing.

This is the brand of pumpkin puree I like to use

This is the brand of pumpkin puree I like to use

Health Benefits of Pumpkin:

  • Pumpkin is one of the best sources of beta-carotene, which converts to vitamin A in our body. Vitamin A promotes eye health and helps our body fight infection and viruses.

  • The Beta-carotene and other carotenoids in pumpkins help with liver detoxification and can improve the tissue health of the liver

  • Pumpkin is an excellent source of fiber, keeping you feeling fuller longer and aiding with digestion

  • The carotenoids and vitamins C and E in pumpkin helps keep our skin healthy and protect it from UV rays


Sources and additional reading:

Crispy Turmeric Chickpeas

Tumeric has gotten a lot of press and hype over the past year or so, and there’s reason for it! While it is typically used in Indian cuisine, it can be incorporated into your everyday cooking in order to reap the many benefits it has to offer. Here is my recipe for crispy turmeric chickpeas. They are quick to cook up, and are perfect for snacking or for topping soups and salads with!

Ingredients:

IMG_3536.jpg
  • 1 15-ounce can of chickpeas

  • 2 tbsp olive oil

  • ½ tsp turmeric

  • ½ tsp curry powder

  • ½ tsp salt

  • ½ tsp black pepper

Directions:

  1. Preheat oven to 400 degrees.

  2. Drain chickpeas, wash and dry thoroughly. Remove any skin that comes off.

  3. In a bowl, mix together the olive oil and spices.

  4. Add chickpeas to the mixture and toss to combine.

  5. Place coated chickpeas on a baking tray and bake for about 25- 30 minutes

  6. Remove from oven, sprinkle with some sea salt, and set aside to cool so they become crispy.

NOTE: This recipe can easily be doubled or tripled! You can store them in an airtight container for up to two days.

Health Benefits of Turmeric:

IMG_3535.jpg
  • The active ingredient in turmeric is curcumin, which is a powerful anti-inflammatory agent. Most western diets are comprised of heavily processed foods which can lead to chronic inflammation. Turmeric helps combat this!

  • The anti-inflammatory curcumin can also help with relieving symptoms from joint pain and

  • It supports healthy cholesterol levels

  • It has anticancer effects, killing existing cancer cells and reducing the growth of new ones

  • It may slow and prevent blood clots

For more information about the health benefits of turmeric, check out these sites:


Lentils with Spiced Carrots and Cauliflower

This is a super easy weeknight meal that is packed with flavor! It is perfect for vegetarians and meat eaters too. I always make extra so I can add this to salads for leftover lunches.

IMG_3035.jpeg

I love cooking with lentils because they’re highly nutritious and an excellent source of plant-based protein. They are super versatile and they add great texture and flavor to any meal. There are several different varieties, but they are all similar in their nutritional components. I prefer soaking lentils before cooking with them to increase their digestibility and to remove the lectins (which can cause inflammation and leaky gut). There will be more about the importance of soaking grains and seeds in a future post, but for now let’s focus on lentils!

Health benefits of lentils:

  • They are a great source of protein and iron, making them a great vegetarian option

  • They are high in folate and magnesium, which are essential for heart health

  • They are high in manganese, B vitamins, zinc, and potassium

  • They have high amounts of fiber, which is important for stable blood sugar levels and for healthy digestion

  • They are high in polyphenols, which have important antioxidant and anti-inflammatory properties


Ingredients:

  • 1 cup dried green lentils

  • 2 cups chicken or veggie broth

  • 1 bay leaf

  • 1 head cauliflower, cut into florets

  • 4 carrots, chopped into ¼ in. pieces

  • 1 can chickpeas rinsed and drained

  • 1/2 teaspoon ground cumin

  • 1/4 teaspoon freshly ground black pepper

  • ½ tsp salt

  • 1/4 teaspoon turmeric

  • 2 tbsp olive oil + more for finishing

  • Feta to garnish


Directions:

  • Preheat 425 degrees

  • Rinse lentils thoroughly, and place in a medium pot with broth and bay leaf.

  • Bring to a boil and reduce to a simmer. Simmer for 25 minutes (covered) or until just tender.

  • Remove the pot from the heat, and keep covered for another 10 minutes.

  • While lentils are cooking, mix cauliflower and carrots with cumin, turmeric, salt, pepper, and olive oil. Arrange on baking sheet and roast for 25-30 minutes.

  • Mix lentils with cauliflower, carrots, and chickpeas- drizzle with good olive oil and top with feta crumbles.


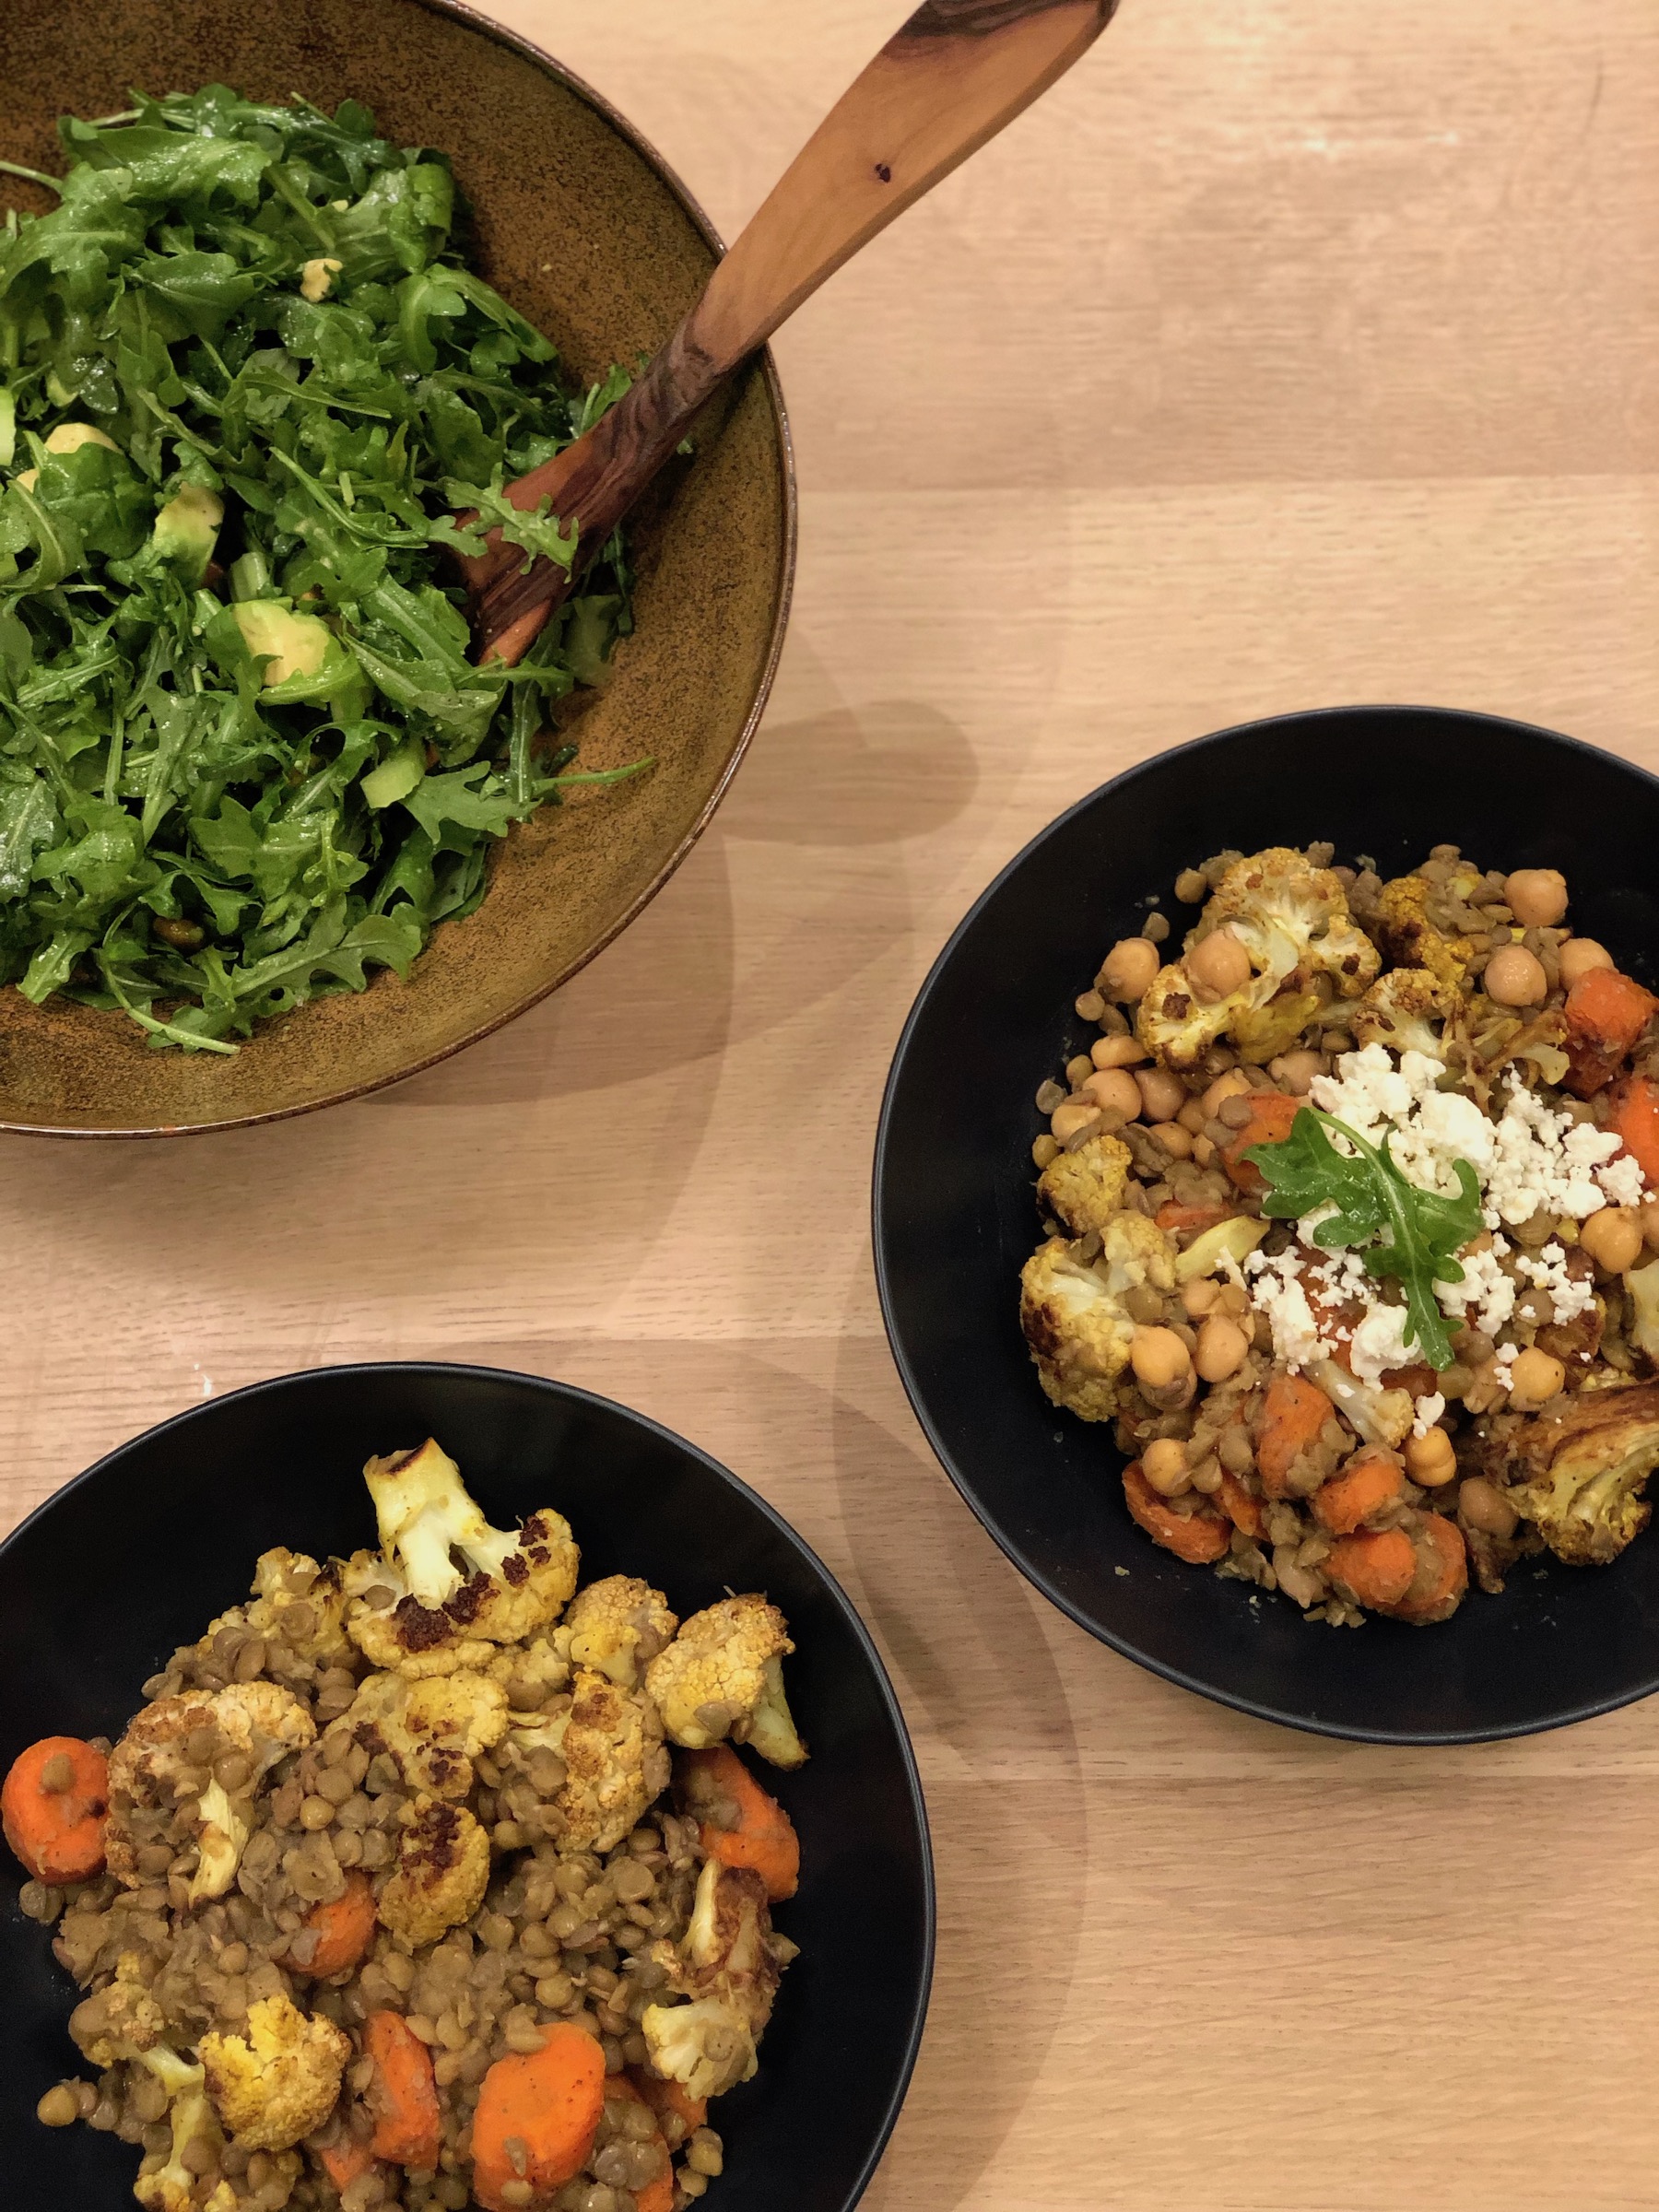
Cauliflower and carrots roasted with spices

Cauliflower and carrots roasted with spices

The finished product with a garnish of arugula

The finished product with a garnish of arugula

Grain- Free Chocolate Coconut Bites

I am obsessed with these chocolate coconut bites! They are my go-to guilt-free dessert these days. They taste like chocolate macaroons but are made with ingredients you can feel good about eating! There are only 2 tbsp of maple syrup in the entire recipe, yet the dessert bites still taste decadent and rich. Also, they take about 5 minutes to make. So simple!

Ingredients

  • 1 tbsp coconut oil

  • 3 tbsp unsweetened cocoa powder

  • 2 tbsp pure maple syrup

  • 1 tbsp + 1 tsp almond butter

  • 1 cup unsweetened shredded coconut

  • ½  tsp vanilla

Directions

  • Melt coconut oil in a small saucepan over medium heat

  • In a mixing bowl, add all ingredients

  • Roll into 1 1/2 inch balls and place into a container.

  • Store in the fridge or freezer.

IMG_2815.jpg

Nut Butter Energy Balls

IMG_2816.jpg

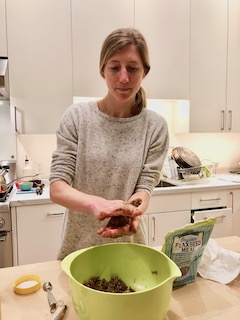
These energy balls are so easy to make and are the perfect grab-and-go snack. I eat these in the afternoon if I need a little pick me up or some energy before a work out. They’re also perfect for breakfast, paired with a piece of fruit. While they can be a little messy to make, there are only a handful of ingredients and one mixing bowl needed. I hope you enjoy these as much as I do :)

Ingredients: (makes 10 balls)

  • 1 cup shredded coconut (or oats)

  • ½ cup flaxseed meal

  • ½ cup almond butter (or nut butter of your choice)

  • 1 tsp vanilla

  • ½  tsp cinnamon

  • 3 tbsp honey or maple syrup


Directions

  • Mix all together and roll into balls

  • Place balls in freezer to set for one hour and then enjoy!

I keep my energy balls in the freezer, but they can also be stored in the refrigerator once they’ve set.


Tea time with sunbutter energy balls

Tea time with sunbutter energy balls

IMG_2066.jpeg